
Our Recipe for Dispersed Camping Toilet Success
You only need a few things to make a great camp toilet.
Ingredients:
- A good shovel,
- A sturdy toilet seat,
- A little shelter tent,
- Trail markers (bright-eyes) and
- A water-proof TP bag with matches or a lighter.
https://www.facebook.com/marketplace/item/926843601755443/?mibextid=6ojiHh
The link above will take you to a site where you can purchase our favorite throne.
Also nice to have is a ‘toilet-in-use’ indicator system to prevent any embarrassing surprises when the toilet is in use.
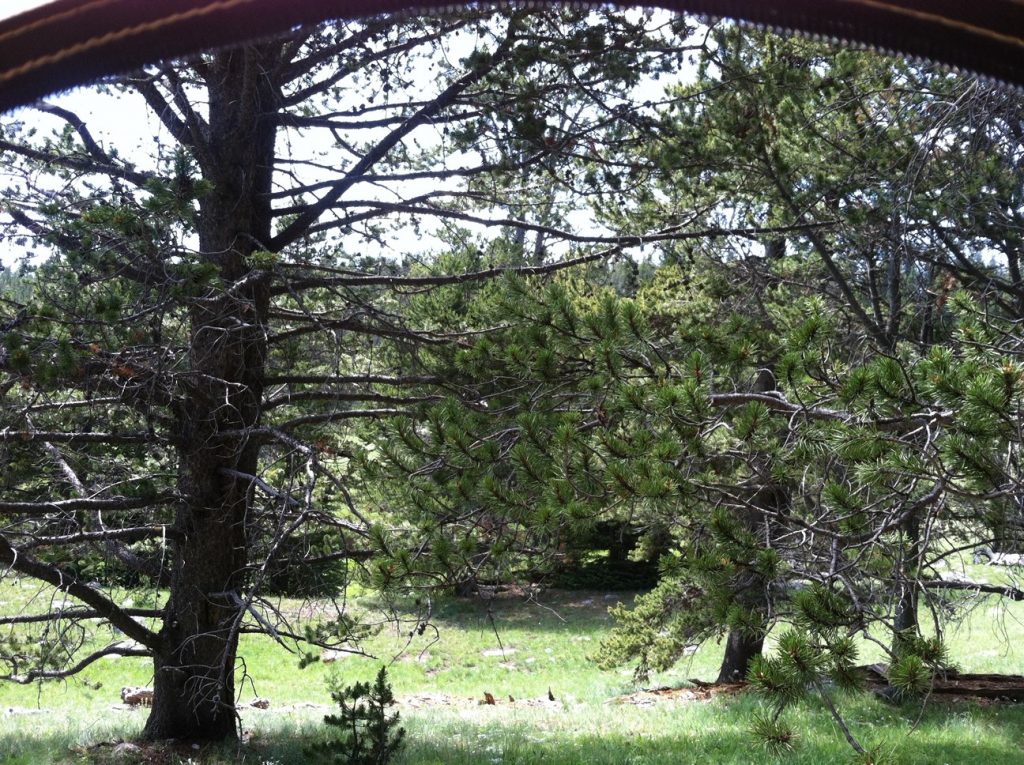
Selecting a Good Site
This is important. Your site should be close enough to camp to make midnight trips possible, but far enough away from base camp to provide reasonable amounts of privacy. Seventy-five to a hundred yards should do it. It should be easy to find from camp, and easy to get back to camp without getting lost.
Digging the Poop Pit
Use the shovel to cut a two-inch deep circle in the mat of the forest floor, remove that circle and set it aside for the day you are going to leave. Dig a nice, deep hole in the ground where you removed the forest floor-mat. Make it about two feet wide and at least three feet deep. Pile the dirt up in one pile off to the side of the hole, leaving enough room around the hole for the shelter tent. Stick your shovel into the dirt pile and leave it there – you will need it later.
Set up a Shelter Tent
Set up your shelter tent with the door facing away from any visible roads and trails. Frankly, we almost never shut the shelter door unless it’s raining out – the views are too beautiful. We’ve seen deer, elk, and moose wander through the view out of the latrine, none the wiser to our presence. So just face the door towards privacy, set up the toilet seat, populate the tent with your bag of TP and matches, and you are good to go.
How to Go
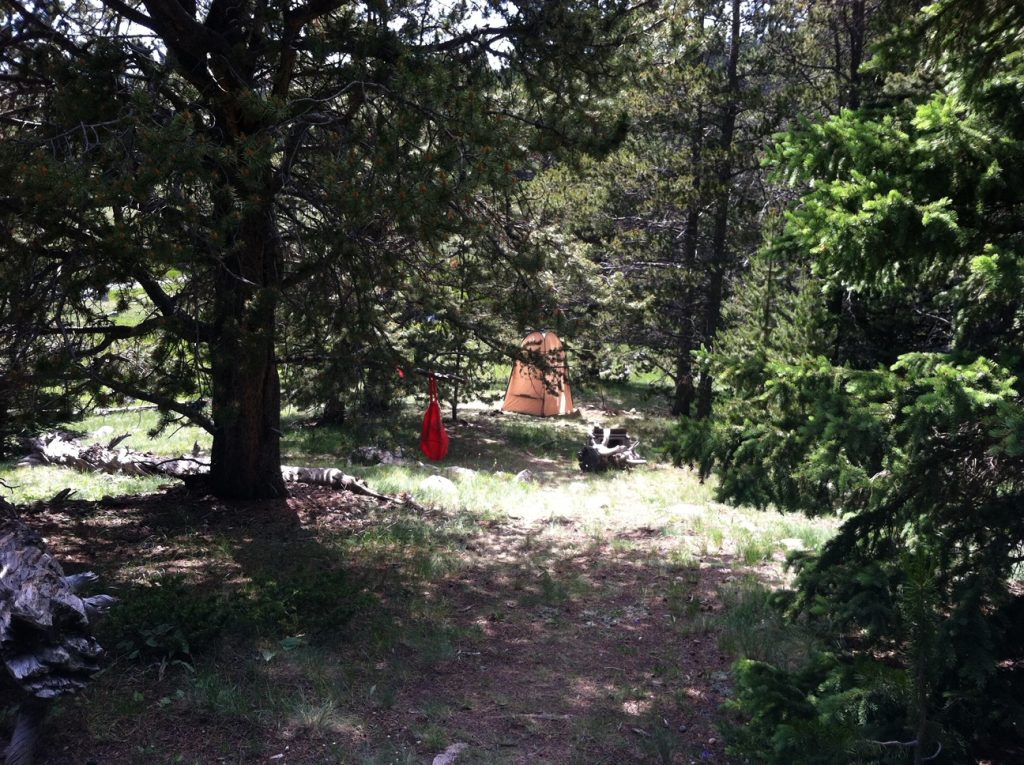
It’s time to use that nifty new latrine. We do have a few words to say on latrine protocol. First, be sure no one else is using it. We use a red flag system. We have a reusable red Target bag that holds our toilet seat between camping trips. This doubles as our toilet-in-use indicator flag. We leave the bag on the ground near the start of the trail, usually right by a tree, with a rock in the bag to keep it from blowing away. If the bag is on the ground, you should be all clear. When you head to the latrine, you hang the bag in the tree so it is visible from camp. Having set your privacy flag, you can head on over to the latrine.
Next, a word on what to do after you go. You don’t have running water, but you can take care of things neatly with a two-part ‘manual flush’.
First, we recommend that you (carefully!) burn the TP in the pit. This will help keep the hole from filling up too fast, and the little bit of smoke generated from burning your TP can help deter bugs from the area. If you can’t reach down to the TP with a long handled lighter, simply fashion a little toilet paper tiki torch, light it, and drop it into the pit so it will burn the used toilet paper. Just be very, very careful any time you have any kind of a flame near a tent.
Now, it’s time to finish your flush. After you’ve turned your TP to ash, use your shovel to sprinkle some loose dirt over the new deposit you just left in the latrine. This, again, keeps bug out and reduces odor. Be judicious in your use of dirt, using enough to cover, but not over-doing it and filling up the pit too fast either! Upon returning to camp, don’t forget to take down your privacy flag – and always – always – WASH YOUR HANDS!
Leave No Trace
Whether it’s time for a new pit or it’s time to go home, always clean up the latrine site to leave no trace. After you have moved the shelter tent and sanitized the toilet seat, fill in the pit with the remaining dirt and place the forest-floor mat back on the top of the pit.